Wednesday, June 17, 2015

Crossing the Finish Line with Two More Projects

The overmantel mirror is now completed and installed, and the Salem mirror panel safe in Florida.

Once all the gesso repairs to the overmantel were done (as shown in Part I), coloring, gilding and toning began.


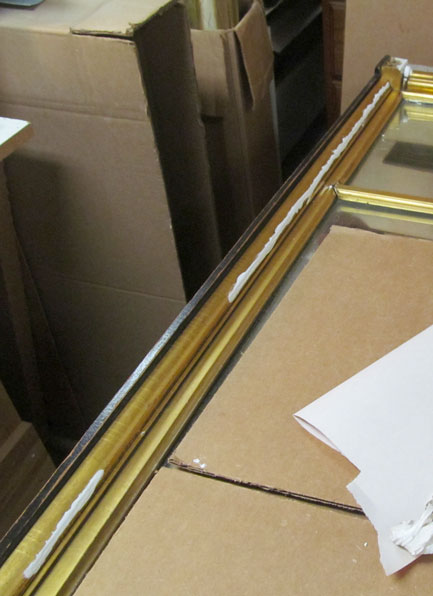
The bottom right section of "ebony" base was missing, so a new piece was made to fit.


Base replacement in progress

By securing a new backboard covering almost the entire back, I was able to pull the frame together, and the separations between the dividers and bottom rail are almost gone. This also allowed installation of an aluminum cleat system that will not only support the weight (and due to the plate glass mirror, this is heavy!), but will also keep it from shifting on the wall.

I helped the clients install this. A piece of plywood was mounted to the wall, since it was not a wall built with standard stud spacing, and had lathe/plaster that would have made it difficult to mount directly. The bottom sections of the interlocking cleat pairs were mounted on this board, then the mirror was dropped into place. Since this was a job requiring all hands on deck, no photos of this process.

In the end, all worked out well, the mirror seems secure (and if it ever falls, we'll blame it on the cat).

Installed (disregard the ghost in the mirror)
 

The Salem mirror project also reached completion. This required sending the finished glass panel to Florida, packed in a way that kept it secure, but with no pressure or material in contact with the painted surface on the back of the glass (concern about abrasion and humidity led to this decision). The customer was able to install the glass successfully, and kindly sent me a picture of the completed mirror.

 
As hanging now in client's home


Tuesday, June 2, 2015

Regency Style Overmantel Mirror (Part I)

Actually looks OK (from a distance)

This Regency-style gilt tri-part overmantel mirror was a revival piece, probably made in the early 20th century. Gilding was probably done with bronzing powders (flash gilding) and or/composition gold. It retains its original heavy mirror plates.

The overall condition was fair/good, with typical damages from age and moving/dropping. Most severe were the losses to the composition fretwork on upper and lower left, and lower right corner blocks and the ring molding at the lower left colonette.. There were noticeable gesso losses, particularly on the right hand colonette, right-most upright with lifting/missing gesso on flat area (probably from mirror being stored on that end against a damp floor), and along bottom rail where loss was probably due to shrinkage of the wood.

Gesso loss on colonette
More gesso loss and lifting


Along the bottom is a wooden strip painted black with a missing section, and separation of bottom rail from dividers due to either shrinkage, or more likely, the weight of mirror plate when mirror was hung on wall rather than resting on a mantel.

Dividers separating from bottom rail
Spit because someone put nails in!
Missing base piece and section of fretwork
More fretwork damage. 


The goal was to make it presentable, but as with other mirrors of this age and type, pursue all deteriorating areas would be a never-ending project.

The treatment plan including cleaning, replacements, gesso infills, gilding and toning. Most importantly, there was a need for an alternative mounting option, since the client wants to hang on the wall, rather than resting on a mantel as was originally intended for this mirror.

We start by cleaning.

First steps were cleaning. Using a conservator's soap solution that leaves no residue, I was able to take off quite a bit of grime as you can see from the used swabs and towels. Ewww.

The repairs begin by replicating the missing cornice fretwork sections. There were originally molded compo, which becomes fragile as it ages and dries. Molds were taken, but the casts were not satisfactory. I had better results by applying a compound and carving directly, since the forms were so geometric.


The next step was to apply gesso to any of the new work, as well as to fill the areas of loss. The gesso will then be scraped/sanded down to the proper level. Gesso work is the most tedious aspect of any restoration.


 Don't worry, it will get better in the next installment!